

A configurator is only as good as the model underneath it. You can build perfect option logic and pricing on top of a badly prepared mesh and still end up with parts that will not recolour, engraving that stretches across a seam, or a product that resizes into something nobody could manufacture.
Preparing a model for Simplio3D is not just exporting a file. It needs to be structured so the configurator can address the right parts, mapped so textures and customer artwork land correctly, optimised so it runs in a browser, and formatted so the platform can read it.
This guide covers the four steps that matter, in the order they matter, plus the details that usually get discovered too late.
The four steps that decide whether a model works
Do these in order — each one constrains the next.
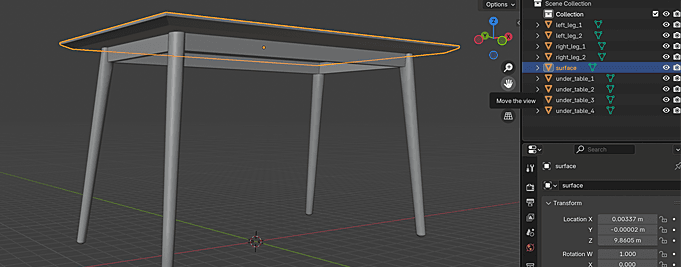
Organise and label components
Structure the model by naming and separating parts logically in your 3D editor. This determines how users can interact with each part: a kitchen knife split into "blade" and "handle" can be configured separately; the same knife as one welded mesh cannot. Clear naming also speeds up configurator setup considerably on complex products.
UV map for textures and customer uploads
UV mapping is not only for textures. It is what makes image upload and text engraving possible at all. For Upload and Text blocks the mapping must be square — a 1:1 aspect ratio — or the artwork will distort. Map intentionally: highlight only the areas where users actually interact, such as engraving spots and image zones.
Optimise for real-time rendering
The model runs in a browser, so budget accordingly. Use .glb or .gltf, which are optimised for the web, or .obj. Minimise polygons using LOD techniques, centre the model at the origin (0,0,0), and avoid unsupported constructs such as groups. Sculpt in high detail if you need to, but export a lower-resolution version for the configurator.
Place the centre axis deliberately
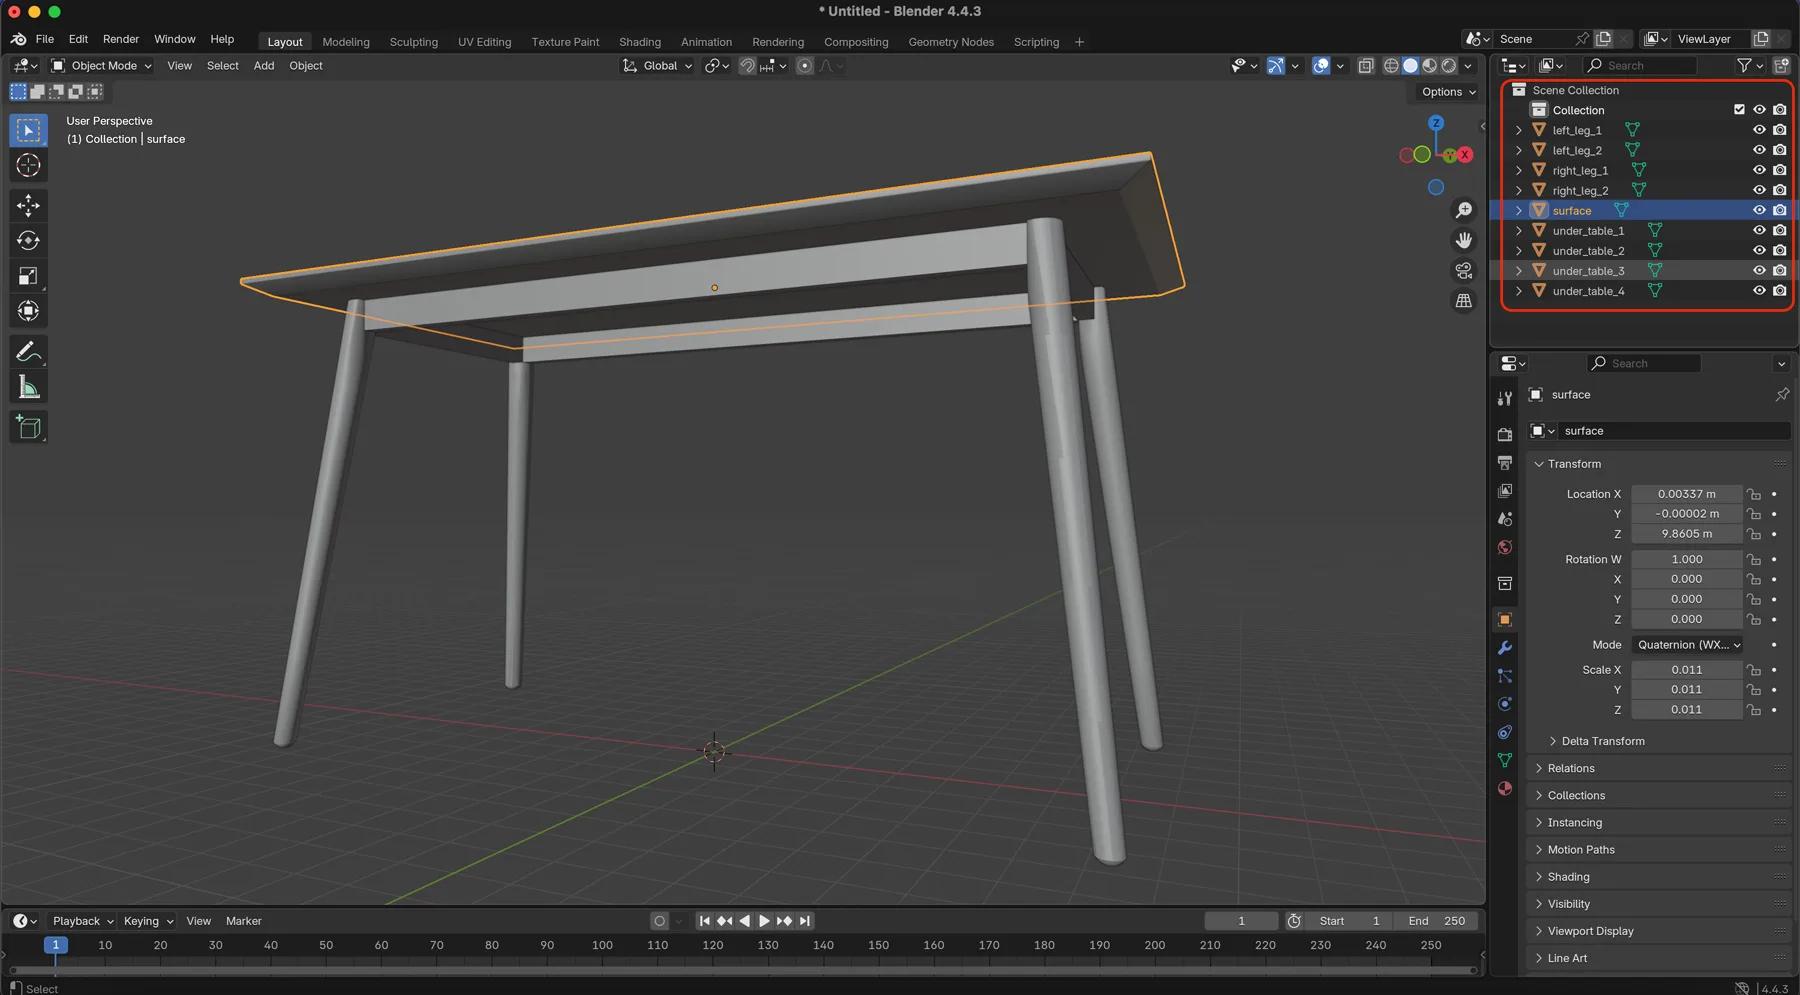
Where the pivot sits determines how a part behaves when it is scaled or rotated. Get this wrong and a resized cabinet grows in the wrong direction, or a rotating component orbits a point outside itself. Fix it before upload rather than working around it later.
Why UV mapping decides what you can offer
This is the step people underestimate. UV coordinates tell the renderer how a flat image wraps onto a three-dimensional surface. Without them, a material has nowhere to sit; with them badly done, everything sits in the wrong place.
Two Simplio3D features depend on it directly:
- Image Upload, where a customer supplies their own artwork — SVG, PNG, JPEG or WebP — to be applied to the product.
- Text Input, where custom text is rendered onto the model with a chosen font.
Both need square, 1:1 UV mapping on the target area. A stretched UV island produces stretched artwork, and no amount of configuration fixes it after the fact.
The practical advice is to map with intent. Rather than unwrapping the whole product uniformly, give generous, undistorted UV space to the zones customers will decorate — the engraving area, the print panel, the logo position — and let the rest of the model take what is left.
Preparing a model that resizes correctly
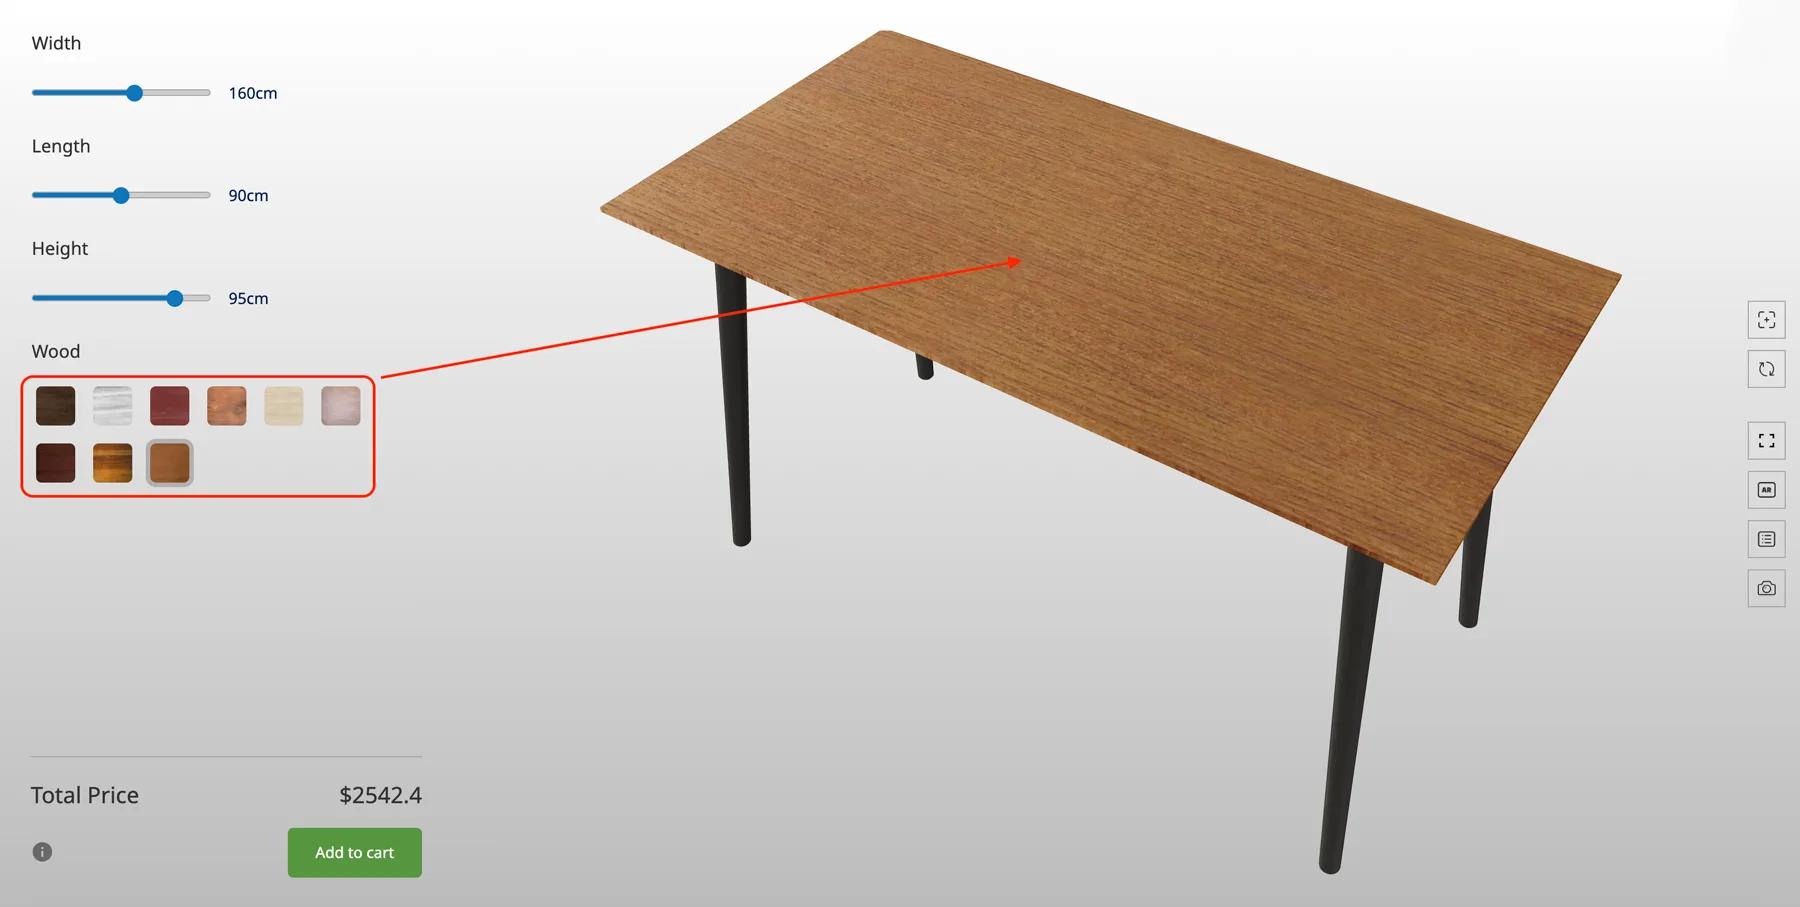
Dimension-driven products — tables, cabinets, closets, shelving, and construction elements such as windows, doors, sheds and roofs — rely on the Number Input option block, which scales the model on the X, Y or Z axis as the customer enters a value.
Scaling exposes every shortcut in a model. Two things matter:
- Separate the parts that must not stretch. A cabinet carcass can scale; its handles should not. If they share a mesh, they scale together and the handles distort.
- Pivot each part properly. A part resizes around its own origin, so a badly placed pivot produces misalignment rather than growth in the expected direction.
Get both right before upload and the resizing behaviour is predictable. Get them wrong and no amount of configuration will make an 1800 mm version of the product look like the 1200 mm one.
Details that save time later
Categorise your assets
Organise 3D assets and textures into categories from the start. It makes materials easier to manage, and materials can then be bulk-added to a configurator by category rather than one at a time.
Fix orientation in the platform
Orientation problems — an upside-down or rotated import — can be corrected directly in Simplio3D, so a bad export axis does not mean a round trip to your 3D editor.
Convert CAD files first
CAD formats such as .step and .stl usually need converting before they are useful. Blender, Rhino and SketchUp all handle this; export to .glb or .gltf for the best web performance.
Keep a high-detail master
Sculpt and keep detail in your source file, then export a decimated version for the configurator. Blender’s Decimate modifier or a mesh compressor does the reduction.
Version rather than replace
Model versioning lets you swap in an updated file while keeping the configuration built around it, so a product refresh does not mean rebuilding the project.
3D model versionsCheck materials against the library
The material library ships recipes for metals, woods, fabrics, glass and plastics. Matching your naming to them makes reuse across a product range far quicker.
Material examplesFormats and what to use them for
Simplio3D imports several formats; they are not equally good choices.
| Format | Use it for | Notes |
|---|---|---|
| GLB | The default choice for the web | Single binary file with geometry, materials and textures bundled — optimised for real-time rendering |
| GLTF | Web delivery where assets stay separate | Same modern pipeline as GLB with external texture files |
| FBX | Interchange from DCC tools | Widely supported; convert to GLB for delivery where you can |
| OBJ | Simple static geometry | No modern material model — expect to rebuild materials in the platform |
| STL | Geometry from CAD and printing workflows | Geometry only: no UVs, no materials. Needs preparation before it is configurable |
| DAE | Legacy interchange | Supported; GLB or GLTF is preferable for new work |
| ZIP | A model plus its texture files | Convenient when textures ship alongside the mesh |
Pre-upload checklist
- Parts cleanly separated and named for the options you intend to build
- UVs mapped, with square 1:1 mapping on any upload or engraving zone
- Polygon count reduced to something a browser can handle comfortably
- Model centred at the origin, with pivots placed correctly on any part that will scale or rotate
- Exported as .glb or .gltf where possible; groups and unsupported constructs removed
- Textures organised into categories that match how you will build materials
Work through that list before uploading and most configurator setup becomes assembly rather than troubleshooting.
Where AI fits
Model preparation is still a craft task — nothing generates a well-topologised, correctly pivoted mesh from nothing. But once the model is in the platform, Simplio3D can generate a working configurator from a product description, giving you a starting structure rather than a blank project, and its AI assistant can audit an existing configurator for option coverage and gaps in conditional logic.
For teams managing large catalogues, the MCP server allows an assistant such as Claude to connect with a scoped token and introspect 3D models and projects directly — useful for checking that a batch of newly uploaded models is wired up consistently.
Frequently asked questions
GLB or GLTF where you can. Both are optimised for the web; GLB bundles geometry, materials and textures into a single file. OBJ, FBX, STL, DAE and ZIP archives are also supported.
Almost always UV mapping. Upload and Text blocks need square, 1:1 UV mapping on the target area — a stretched UV island produces stretched artwork regardless of the source image.
There is no single number, because it depends on the device. The practical approach is to keep a high-detail master and export a decimated version for the configurator, using LOD techniques to reduce where detail will not be seen.
Only the parts you want to control. Anything that needs its own colour, material, visibility toggle or independent scaling has to be a separate, properly pivoted part.
Yes. Orientation can be adjusted directly in the platform, so an export axis mismatch does not require a round trip to your 3D editor.
Yes. Model versioning replaces the 3D file while preserving the configuration built around it.
Next: build the configurator
Once the model is prepared, options, conditional logic and pricing are assembled visually in the editor.
See it applied in practice
Waterloo Healthcare supplied CAD files that were processed and exported to .gltf for rendering performance.
Build, deploy and scale 3D commerce.
Own a 3D product configurator to drive sales and generate proposals directly from your website
Related articles
How a Product Configurator Gets Built (2026 Workflow)
The current workflow for building a 3D product configurator: requirements, project type, options, conditional logic, CPQ pricing and AI-assisted setup.